|
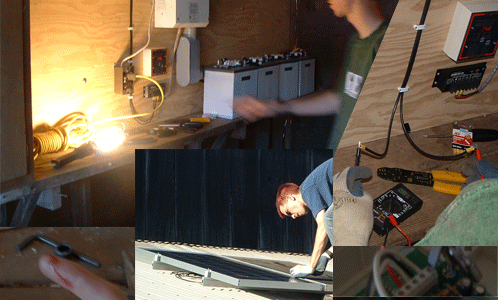
The installation took four days total and then a few hours on the day I left in order to wire a temporary AC circuit to test the system with. I have tried to move this report on the installation in a linear way. I built the battery bank and wired it to the DC Disconnect and the ground first. Then I attached the wires to the inverter and grounded it as well. While I began the installation of the rack to hold the solar panels, my Dad cut conduit to protect the wires. After mounting the panels, I attached a temporary length of romex to the AC side of the inverter and ran it to an AC outlet. We plugged in a trouble light and it worked. Yay!
The kit we purchased was instrumental in installing this system. The packing list of the kit went as follows:
| Quantity | Description |
| 4 | Sharp ND-L3EJE 123 watt panel w/ j-box |
| 1 | UniRac Solar Mount Rack SMR/120 |
| 1 | UniRac Clamp Set CT4F |
| 1 | Morningstar - Morning Sunsaver 20A 24V PV charge controller w/ LVO |
| 1 | Trace DC 175amp Disconnect |
| 1 | Trace DC Bounding Block |
| 1 | Xantrex DR1524 mod-sine, 24v/1500W, 120VAC 60Hz w/ 35A charger & 30A pass through |
| 1 | Trace DRCB |
| 1 | 2/0 x 3' Battery cable pair, code approved |
| 1 | 2/0 x 10' Battery cable pair, code approved |
| 3 | 2/0 x 12" interconnect, black, code approved |
| 1 | Tri-Metric Kit w/ fuse, wiremold box, & 500A shunt |
| 1 | Xantrex CD20 - 20A DC circuit breaker |
| 4 | IBS - interstate 6V/225 Ah Golf Cart type battery |
Kits like this are available from many different sellers. It's best to choose a place not too far away so you can pick it up instead of paying shipping. My Dad drove down and picked up our kit. Unfortunately, not quite everything needed was included in the parts kit. I must have made more than 10 trips to the store in 4 days to get missing or before-unknown needed parts.
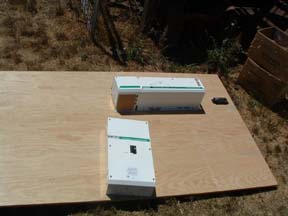
Before beginning the installation in earnest, I opened every part and took out the manuals and read them all. Also, per the advice of my Dad, I laid the plywood board that the system would be mounted on on the ground and tried out different layouts.
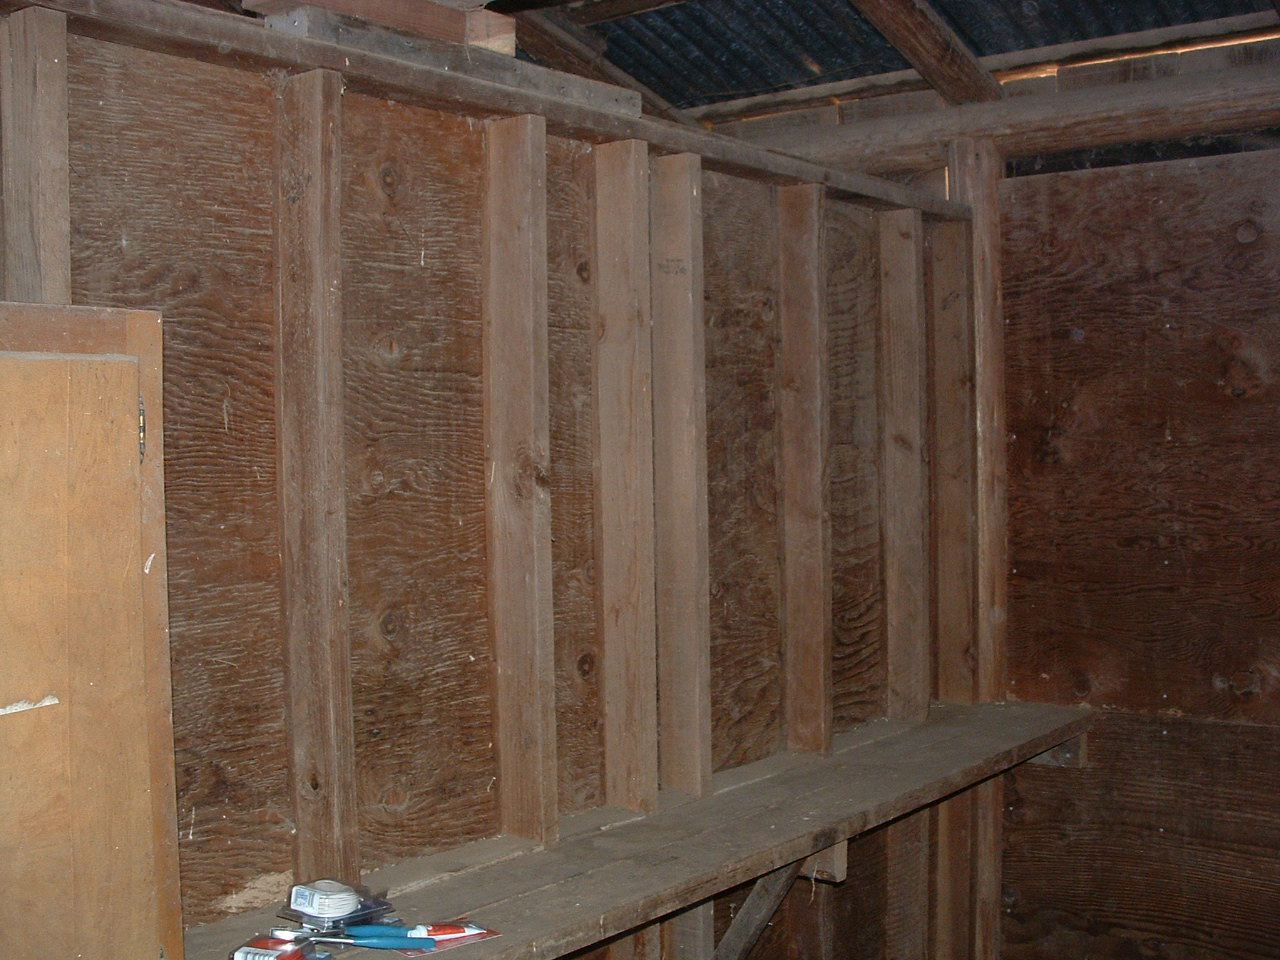
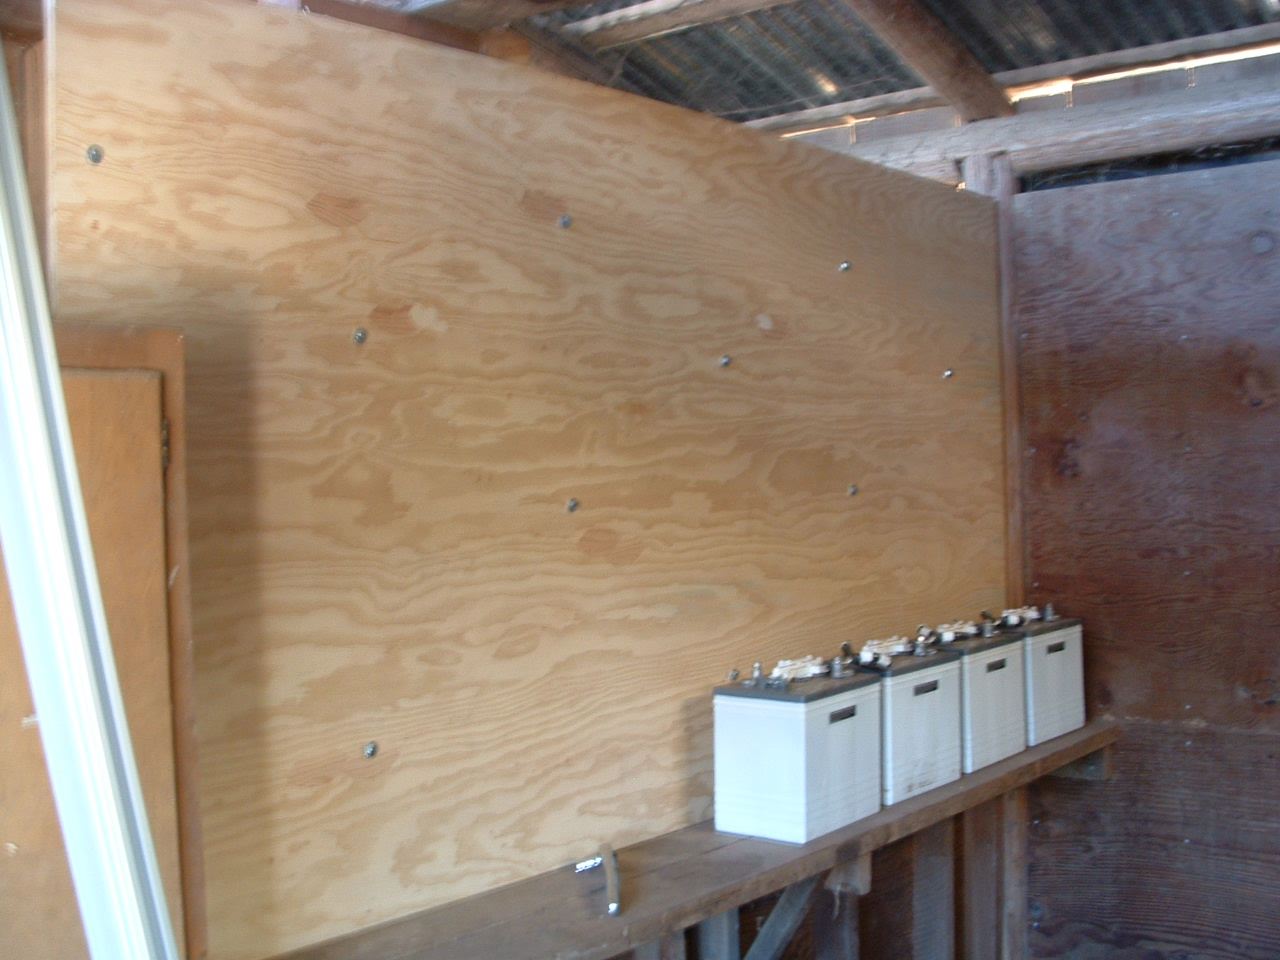
After talking with the electrician who would later be the one to install the lighting system to attach to my power system, I decided on a layout and mounted the plywood on the wall. Looking back on it, I think I could have done just fine with fewer bolts. I used twelve 3" bolts and it was only 3/4" plywood. Before (left) and after (right).


|